Sources and scenes are essential in an open broadcaster software (OBS) studio. They function as visual templates to display elements on the computer screen for your viewers. Sources enable you to add games, webcams, 4K PTZ cameras for live-streaming, media, and other devices to your output, as well as setting up your stream layout.
In this post, you will learn the types of sources you can add in OBS and how to add these sources, including adding video sources and NDI sources to your scenes.
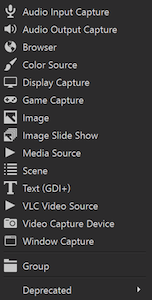
Types and Description of Sources
These are the different types of sources that can be added to OBS.
Browser Source
Browser source allows you to add tasks, such as custom layout, image, audio, and video tasks that you can run on a normal browser to OBS. The options in a browser source are local file, URL, width, height, custom CSS, and FPS, among others.
Display Capture
The display capture source captures your entire monitor. Using the options available on this source, you can specify the display you want to capture, enable or disable your capture cursor, and set the method of capture. OBS studio allows only one display capture source per display.
Image Source
In OBS studio, image source allows you to add different image types to your scene. Image formats supported by this source include .bmp, .tga, .png, .jpeg, .jpg, and .gif. The ‘Image File’ option enables you to locate the image and the ‘Unload image when not showing’ option allows you to unload inactive images from memory. You can also apply the alpha channel support for export.
Color Source
Color source is used to create background colors for your scene or a global color tint with the alpha channel. With the color, width, and height options on this source, you can set your display color, alpha, and source resolution.
Game Capture
Game capture is one of the most used sources. It allows you to capture all DirectX and OpenGL games played on your computer. Only a small number of games do not work with this source, making it a very efficient way to add games to OBS. The default options for the game capture source work properly for most applications, however, you can navigate through the options and make the choices that suit your needs.
Media Source
This source adds different media types to your stream. The supported file types for video are .mp4, .ts, .mov, .flv, .mkv, .avi, .gif, .webm, and for audio, the supported files are .mp3, .aac, .ogg, .wav. The local file option allows you to select a file from your computer and other options enable you to adjust the properties of the file, including its accessibility to viewers.
Other sources you can add to OBS include text sources, window capture sources, video capture sources, image slideshow, scene, VLC video sources, and audio input/output sources.
How to Add a Source in OBS
Scenes are made up of one or more visual elements from your sources. Follow the steps below to add a source.
Step 1: Go to the Sources dock and click on the ‘+’ button at the bottom.
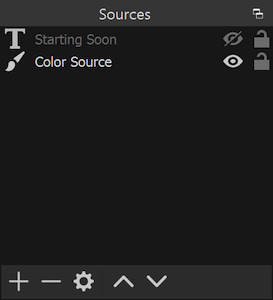
Step 2: Select a source from the different options available in OBS and add it to your scene.
To remove a source, go to the Sources dock and choose from the Add Sources List. Then, click on the ‘-’ button.
How to Add NDI Sources to OBS
Network Device Interface (NDI) is an IP video production protocol that provides an efficient connectivity option for professionals worldwide. Its plugin allows users to add NDI video and audio sources to OBS and send these sources out.
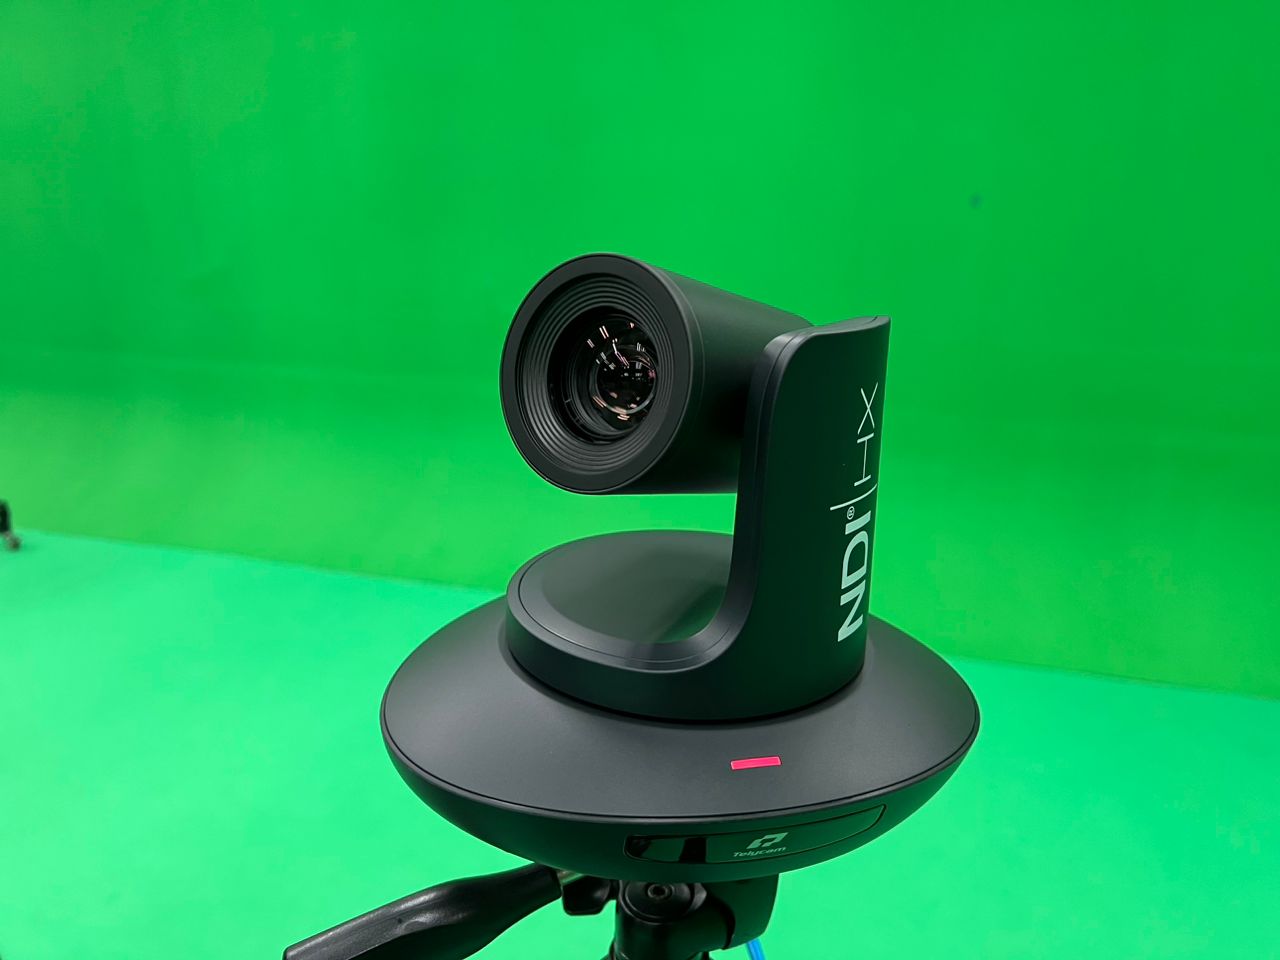
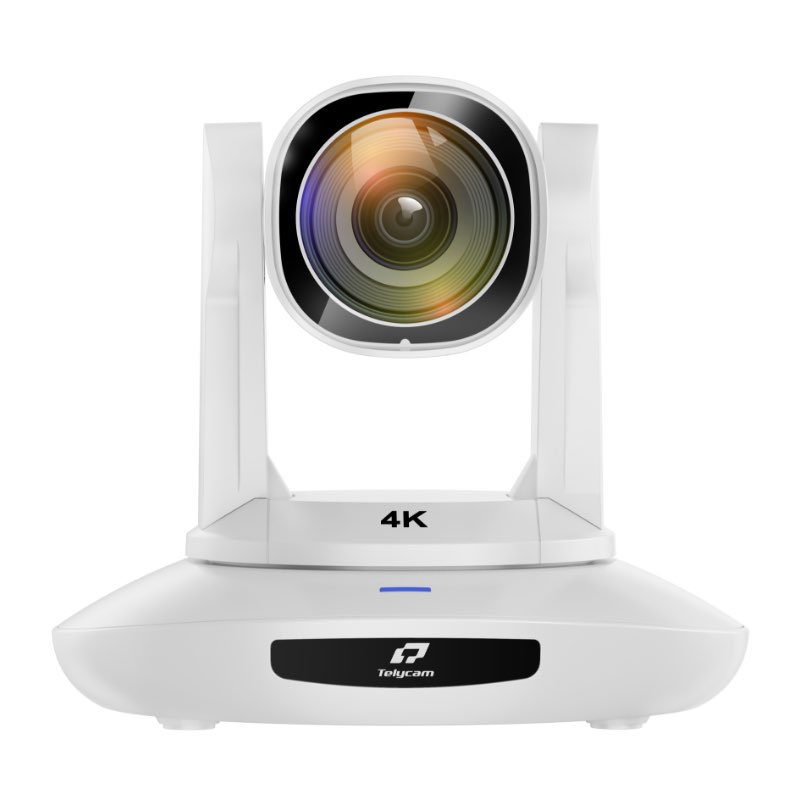
To add an NDI video source, such as a PTZ NDI camera, go to the Sources menu and use the ‘NDI source’ option. This option allows you to name the NDI source and select from a list of NDI sources discoverable on your network. With the current plug-in, you can add NDI sources in ‘highest’ and ‘lowest’ bandwidth modes, and choose to connect with ‘audio only.’
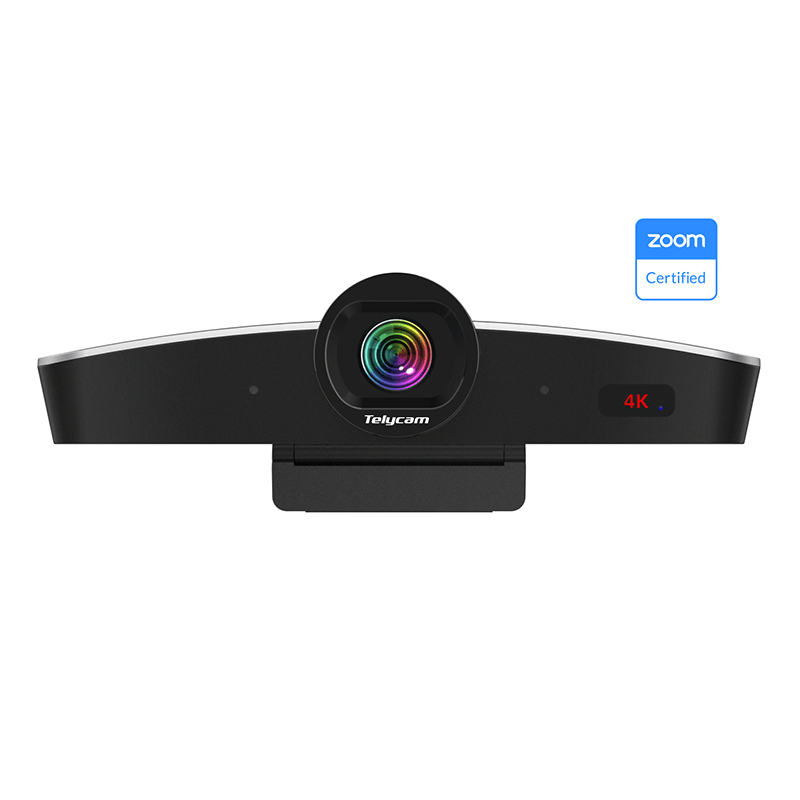
Using NDI, you can synchronize multiple Telycam PTZ cameras or video feeds with time codes from your device or network. You can set up your NDI video sources to synchronize with an NTP (Network Time Protocol) server or a more common server, such as time.google.com.
How to Output NDI Sources from OBS
To output NDI sources from OBS, go to the tools dropdown menu and use the NDI output settings. Here, you can send your ‘Main Output’ (program window) and ‘Preview Output’ (preview window). All you have to do is check the outputs you want to send through NDI, name them, and click ‘OK.’ Once this is done, your NDI video sources from OBS will be available on your local network.
Conclusion
Scenes and sources are important for streamers, gamers, and other video production professionals as these components help to enhance your visual experience. Using the detailed steps in this post, you can add sources in OBS to improve your broadcasting and live-streaming activities.
Telycam is a leading PTZ camera manufacturer that specializes in providing superior camera solutions for video conferencing and live-streaming, as well as thorough professional services and technical support. For high-resolution video conference camera solutions, PTZ controllers, and accessories for seamless video transmission, you can contact us.