When using video conferencing apps like Skype or Google Hangouts to communicate with customers or coworkers, a webcam can be a helpful tool for small businesses. Since laptop cameras typically have low resolution, many laptop users choose to replace them with webcams. To use the new hardware, you must first convert your laptop’s camera to a webcam. In today’s blog, we are going to talk all about how to use an external webcam on a laptop.
What Are The Different Types Of Webcams Available?
Since the early 1990s, when the first clumsy webcams appeared on the scene, they have advanced significantly. In fact, Cambridge University created the first webcam that was directed at a coffee maker so that computer scientists could check on the coffee’s readiness from a distance. From 1991 until 2004, when it was formally deactivated, the webcam was in operation.
However, if you assume you’ll need to connect to more than just the webcam, the first thing you’ll need to do before using your current HD webcam is to decide which model you want. There are two categories of webcams on the market right now: basic ones and network webcams.
- Basic Webcam
- Integrated Webcam
On many computers, the top centre of the screen houses an integrated or built-in webcam. The picture and video quality of these built-in cameras is typically worse than that of an external webcam.
Having said that, some laptop models are equipped with two cameras: one for video conferencing and the other for taking still images. Other laptop models can offer a swivel feature that lets you adjust the viewing angle. However, these integrated cameras are typically quite simple. Users are given the option to use Skype or shoot photographs.
- Standalone Webcams
A standalone webcam is a small camera that clips onto the top of your computer monitor. You will have a lot more alternatives if you buy a standalone webcam because you can select the webcam resolution, microphone, and headset that best suits or enhances your working environment or way of life. If you’re seeking a straightforward, uncluttered configuration, it can, unfortunately, also result in the clutter on your desk.
- Webcams With Mic
You don’t need a separate microphone or headset because many new webcams come equipped with built-in microphones. This is a practical choice if you want to reduce the desk clutter caused by several peripherals and their various wires.
- Network Webcams
Similar to typical webcams, network cameras transmit their data via Ethernet or wireless connections. For instance, several specialist conference webcams and home security systems feature wireless capability.
How To Use/Connect An External Webcam On A Laptop
You can connect an external webcam to a laptop in just these few easy steps.
Disable An Internal Webcam
You can turn off the internal webcam in Windows to aid a specific computer program in identifying your new webcam, such as Skype or Google Voice and Video. Enter “device manager” in the search box in the Start Menu or taskbar, or click the “Search” charm in the top right corner of Windows. Expand the section next to “Imaging Devices” in the device management after it starts, then use the right-click menu to select “Disable” when selecting your webcam.
You might also be given the option by some apps to use an internal or external webcam. In that situation, you might not actually need to turn off one camera to turn on another.
External Webcam For Laptop
As soon as you connect to a USB webcam, the majority of Windows versions will automatically detect it. Connect your brand-new external webcam to a computer’s USB port, then wait until computer connects to the external webcam.
Once connected, you might want to test the webcam to make sure it captures a clear image and is pointed in the direction you want it for videoconferencing. The majority of video conferencing programs have a test mode that you may use to make sure your speakers, microphone, and camera are all in good working order.
Choosing Webcam In Software
Before installing the USB webcam, your internal webcam does not need to be disabled. The settings of the majority of programs allow you to select which of the two webcams to use. Select “Options” in Skype, followed by “Tools,” and then “Video Device Settings.” Next, select the desired webcam from the drop-down selection. Most webcam-supporting programs, like Apple’s Facetime and Google’s Hangouts, include options that are similar. If you’re using a Mac computer and don’t want to utilize the standard, built-in device, this is often how to choose a camera.
Webcam Software Settings
Remove the software that came with and controlled your previous webcam if you decide to just use your external webcam going forward, and then install fresh software to work with the new webcam. Run the uninstaller program if one is included with the software and follow the on-screen instructions. If not, you can uninstall the app using Windows software management tools.
To do this, select “Settings” from the Start Menu. Select “System” from the Settings menu. To view the software that is installed on your machine, choose “Apps & features.” To uninstall software, click it.
The “Uninstall” button ought to appear. Toggle it. In the pop-up message, click the “Uninstall” button to confirm that you want to delete the program from your computer.
Covering The Webcam For Security
For your security, you might want to physically cover or disable a webcam when it is not in use. Some malware can take control of your webcam and use it to watch you while you use your computer or engage in other nearby activities.
The webcam can be physically covered, turned off via the software menu, or both. You can cover the webcam with the lens cap.
How To Change From Laptop Camera To Webcam On A Mac
It is not possible to use an external webcam in place of the built-in iSight camera on Mac computers, but there is a straightforward workaround. You can record your voice or video chat using an external webcam. Here’s how to go about it:
- Utilize a USB cable to connect the camera to the PC. Alternatively, if you have a Bluetooth webcam, pair it with your Mac using Bluetooth.
- Watch for the external webcam to be detected by the computer. Finding it can take ten to fifteen seconds.
- From the apps dock at the bottom of the screen, choose the “Photo Booth” program.
- Click “Camera” in the menu bar at the top of the page to access the camera.
- Choose the external webcam from the drop-down list of available choices.
How To Switch From Laptop Camera To Webcam On Windows 10
Additionally, there are a few other ways to switch between the laptop camera and a webcam on Windows 10. Observe these instructions to turn off the laptop camera:
- Press Windows + X simultaneously, then select “Device Manager” from the list.
- Double-click the “Imaging Devices” drop-down menu.
- Choose “Disable” next to the internal webcam’s name.
- Try employing a program and notice if the problem continues.
Setting the webcam as the default device is an additional option. This is how you do it:
- Type “Control Panel” by pressing Windows + S.
- Under “Hardware and Sound,” choose the top item and then click “View Devices and Printers.”
- Verify the presence of the webcam.
- If so, select “Set this device as the default” from the context menu when you right-click on the webcam.
How To Switch From Laptop Camera To Webcam On Windows 11
When you connect your webcam to your computer, if the “Devices and printers” category appears, take the following actions:
- Press the Windows key + R to bring up the Run dialogue.
- to get to the Control Panel.
- Hit “Enter” after typing “control” in the Run dialogue box.
- In the window’s upper right corner, change the “View by choice” to “Large icons” or “Small icons.”
- Making the choice of “Devices and Printers.”
- Use a second or external webcam by selecting it with the right-click menu.
- Click “Set as Default Device” to make the webcam the default device.
However, try disabling your laptop camera using the following instructions if your webcam doesn’t show up in the “Devices and printers” section when connected:
- Open the Run dialogue box by pressing the Windows key and R simultaneously.
- By typing “devmgmt.msc” into the Run dialogue box and pressing “Enter,” you can access the “Device Manager.”
- Go to the “Camera” part of the list of installed devices in “Device Manager” and pick it.
- Click the internal webcam’s right mouse button, then select “Disable device.”
- Repeat this process for each extra camera you’ve added to your setup.
Your laptop will now automatically access your webcam as necessary since the camera on your laptop has been disabled.
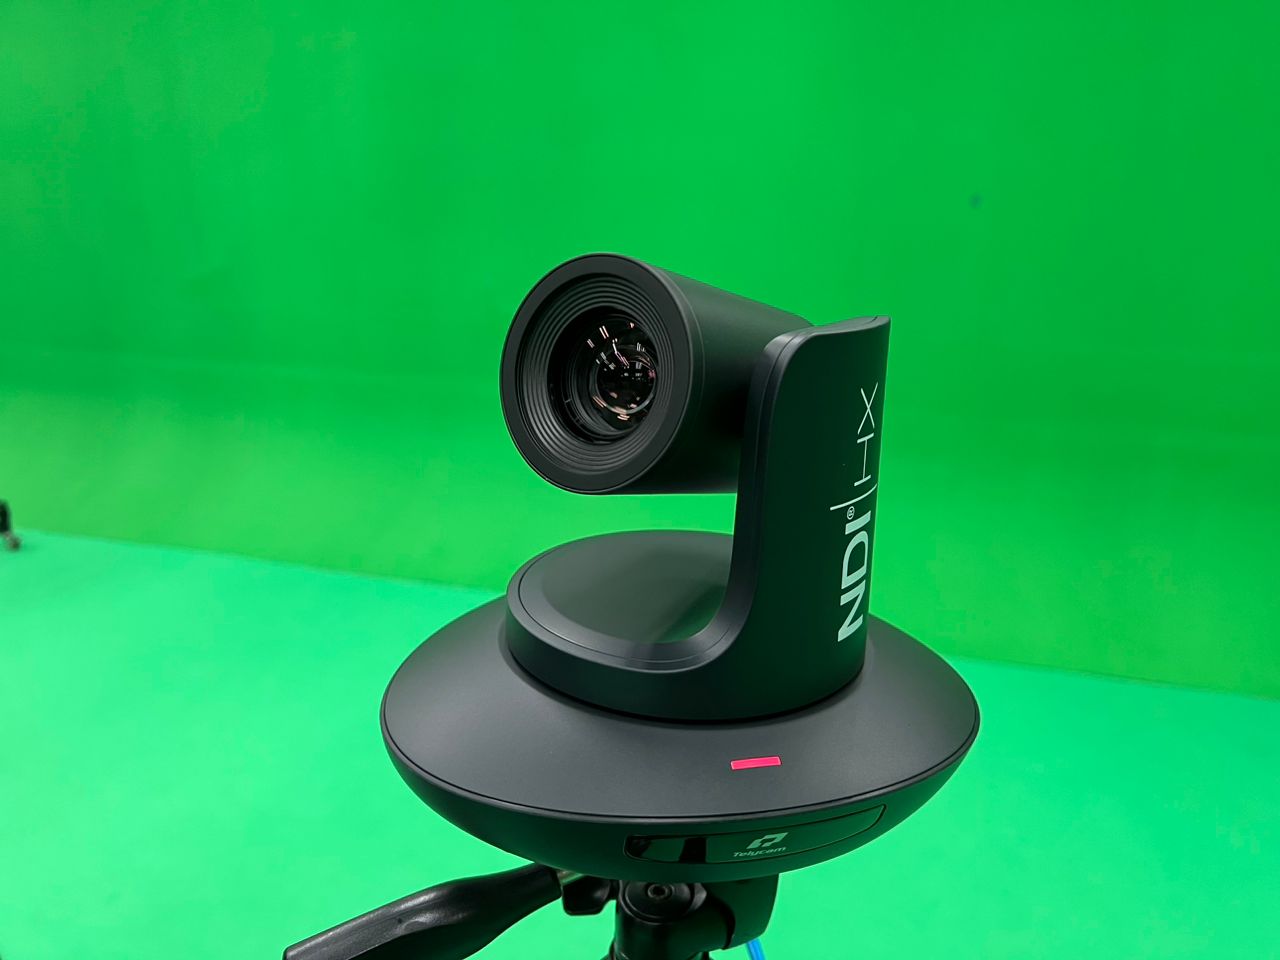
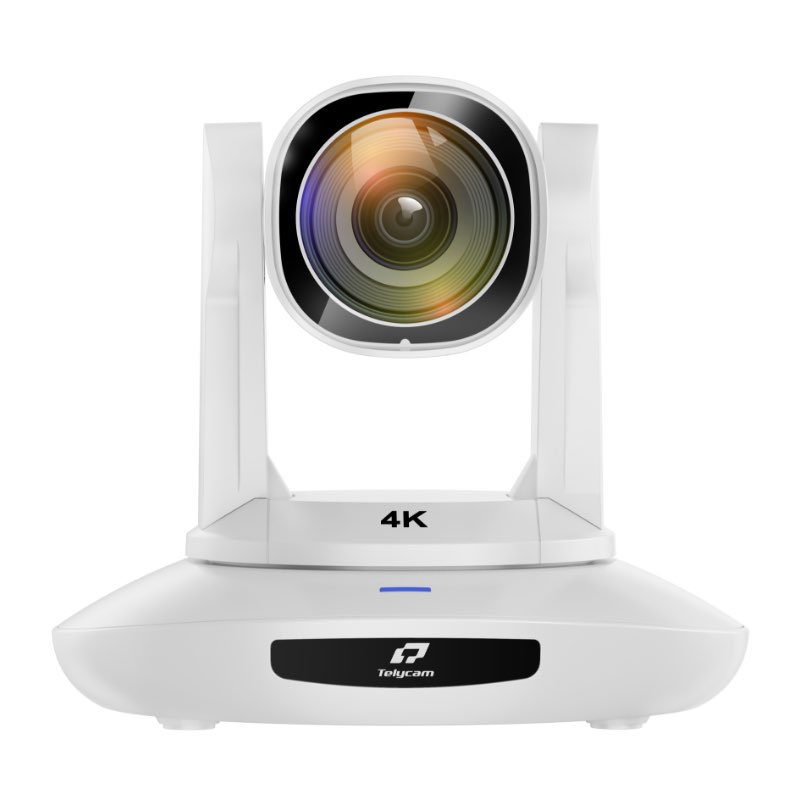
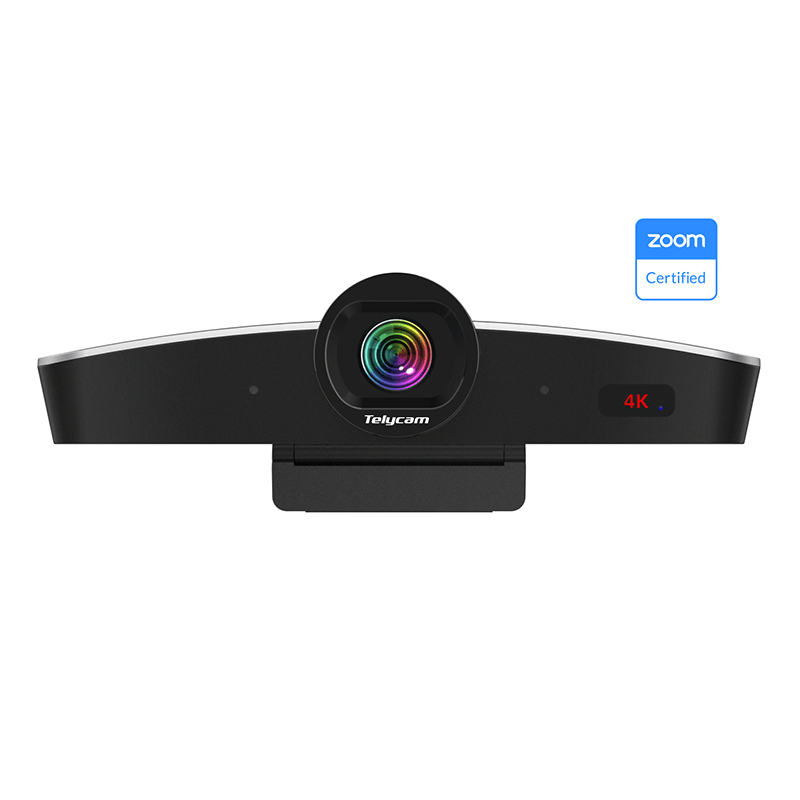
How To Connect PTZ Camera

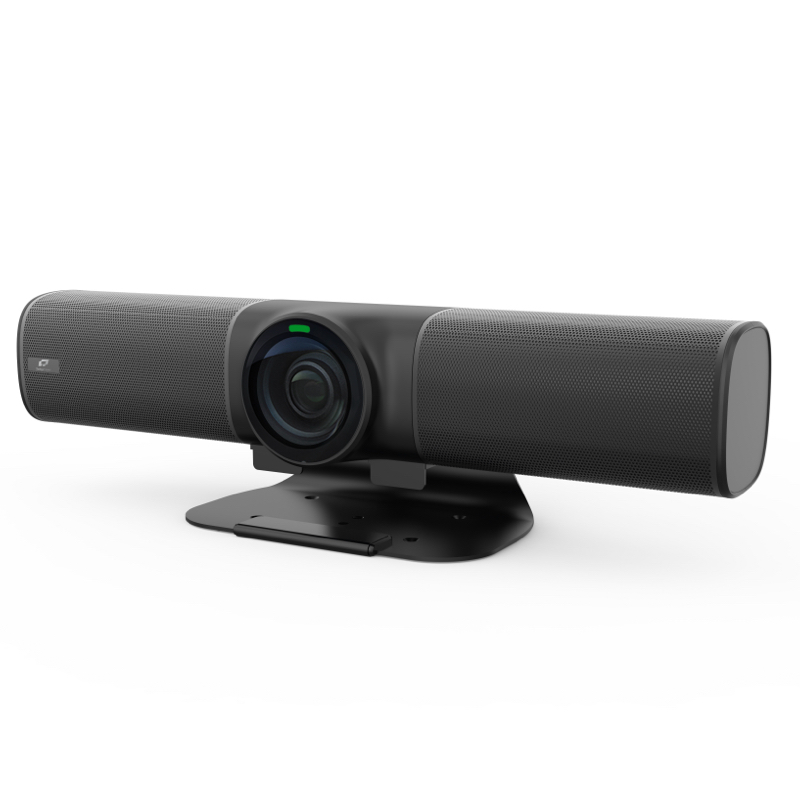
Make sure your PTZ cameras are networked and discoverable by your computer before using PTZJoy Controller. You can purchase a PTZ webcam from Telycam, the biggest manufacturer of PTZ camera in China. Telycam webcam PTZ cameras are best in class and affordable as well.
- Use a network cable to connect your PTZ camera to your computer or live production system.
- Open PTZJoy Controller once your cameras are connected. Using the Virtual Joystick on the Main Panel, you ought to be able to control your PTZ camera at this point. Continue doing this for each linked camera.
Conclusion
A built-in webcam is a common feature of modern laptops, allowing you to shoot video and participate in video chats. The majority of built-in webcams are of acceptable quality, but an external webcam is your best option if you want more sophisticated functions like panning, auto-tracking, and greater video resolution. It’s easy to add a second webcam to your laptop, but it can be a little tricky to get the secondary camera to function with chat and video recording software. So follow the steps mentioned in the blog to connect an external webcam to your laptop. You can also contact Telycam for hight quality PTZ webcams, they have a lot of webcam for sale.