Open Broadcaster Studio (OBS) is a free software primarily used for broadcasting, live streaming, and recording video production on live streaming platforms, YouTube, Facebook, conference platforms and Zoom. OBS allows a smooth interaction with video conferencing cameras and apps, allowing for seamless record and broadcast for very long hours.
It functions properly with most operating systems, including Windows and Mac, and is utilized by many company professionals and organizations for uninterrupted, pixel-perfect video meetings, and live-streaming events.
With this guide, you will know how to use OBS in Zoom and how to record zoom with OBS.
How to Add Zoom Virtual Camera to OBS Studio
Open broadcaster software studio is an open-source tool, hence, it connects with many software programs, including video meeting platforms like Zoom. Also, you can live broadcast and record your meeting sessions by making this connection.
The requirements for this setup are OBS studio, Zoom, and any plug-in that offers a virtual camera. However, in this method, we use the virtual camera plug-in available for the latest version of OBS studio.
Follow the steps below to connect OBS with a zoom virtual camera.
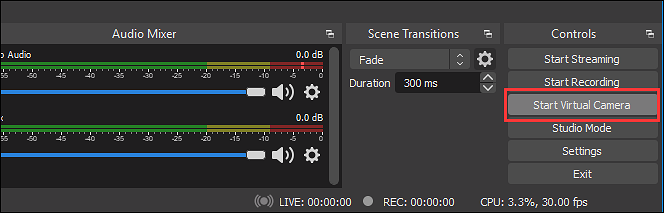
Step 1: Download and launch the latest version of open broadcaster software studio on your computer. Open OBS and click ‘Start Virtual Camera.’
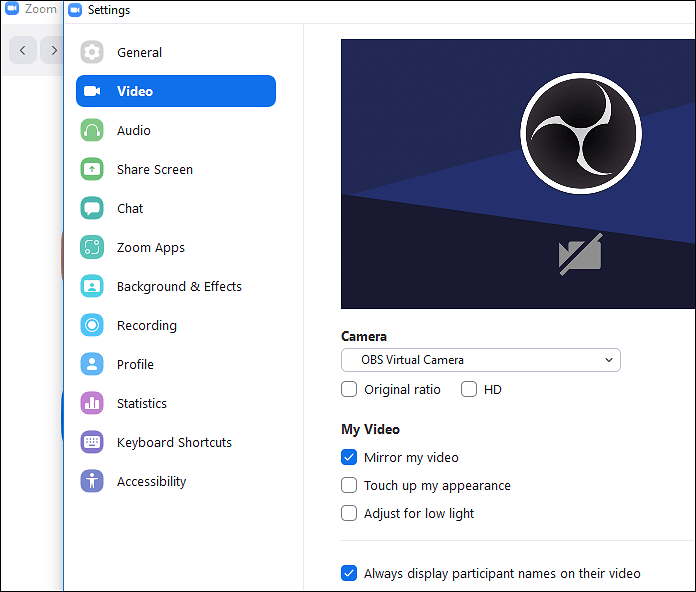
Step 2: Open the Zoom application and go to settings. Click on ‘Video’ and select ‘OBS Virtual Camera’ provided by OBS studio in the camera option.
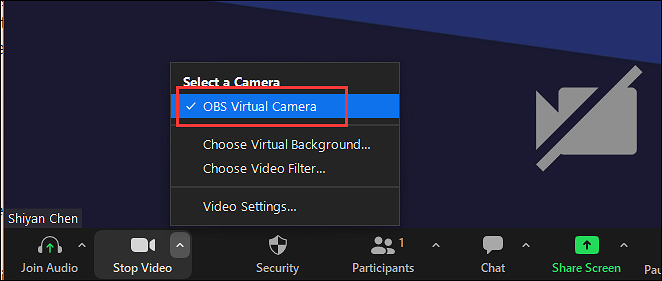
Step 3: Now, start or join a meeting. Click the arrow up button at the bottom and enable the ‘OBS Virtual Camera’ option.
Step 4: After adding the virtual camera, you can use OBS functions to adjust scenes, sources, and other properties.
Using NDI Webcam Input as Video Source
The NDI webcam input creates a virtual webcam source from available NDI video sources on your network. The virtual webcam can then be used with any software that requires a webcam. This tool enables you to use an NDI source as a webcam source for your video conferencing apps, such as zoom.
When installing NDI tools, you can opt to let the NDI webcam input ‘run at startup.’ The application can be found in the system tray when it’s running and you can click on it to open the settings menu. In this menu, select any NDI source you want to use as a virtual webcam.
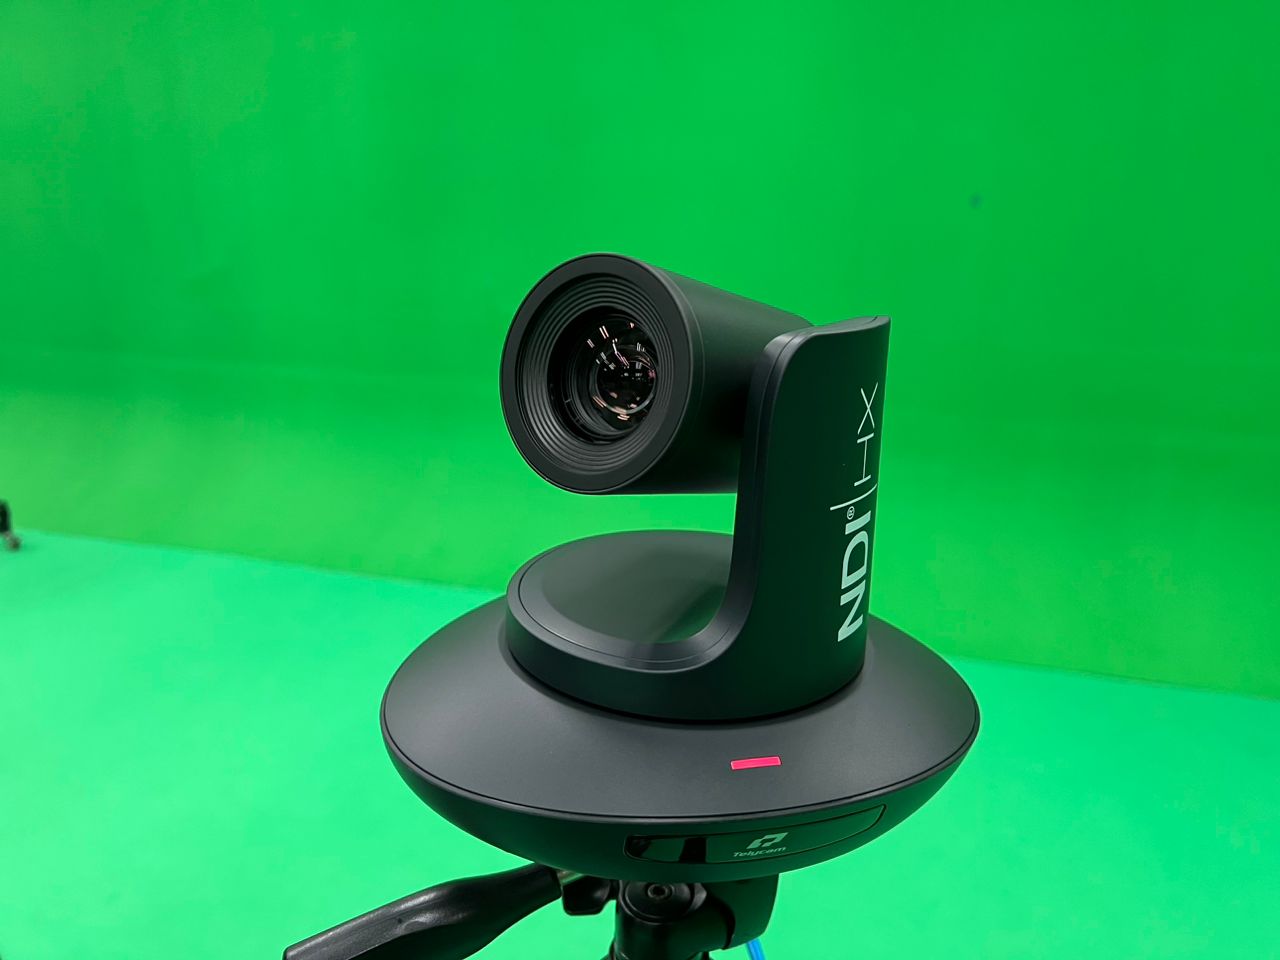
Other NDI tools include the studio monitor, which enables your computer to display any NDI video source, like a China PTZ camera that is available on your LAN and the NDI screen capture, which captures the screen of your computer and makes it available as a video source.
How to Use OBS with Zoom for Audio
Using OBS with Zoom for audio is not as straightforward as the virtual camera connection because this process requires two software. But following the steps below you can easily make this audio link.
Step 1: First, download and install the OBS plug-in ‘Audio Monitor’ from the website. Then, you need to download the virtual audio cable software on your computer. After installing the two software, restart your computer.
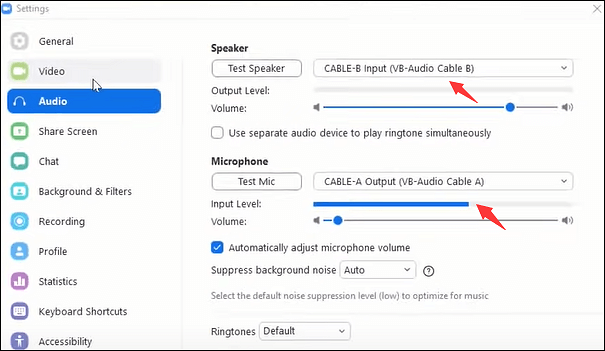
Step 2: After restarting, click on the audio option on your computer settings. Choose Cable-A Output (VB-Audio Cable A) as the microphone and set Cable-B Input (VB-Audio Cable B) as your speaker in Zoom. Then, click ‘OK.’
Step 3: Open OBS studio and click ‘+’ on the sources dock. Select the ‘Windows Capture’ option and search for Zoom. From the Audio Mixer dock, click the settings icon. Navigate to the “Filters” option in OBS.
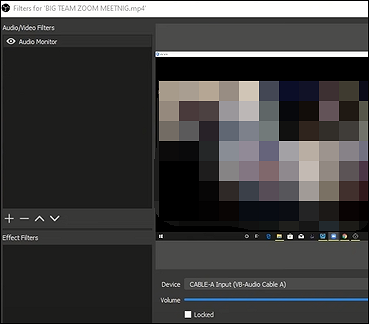
Then, choose ‘Audio Monitor’ from the ‘+’ option effectively and ensure you select the Cable-A input in ‘Device’. Go to settings > audio > advanced, and then select ‘Cable Input’ as ’Monitoring Device’. Lastly, click ‘OK’.
How to Record Zoom Meetings Using OBS
To record your zoom meeting using OBS, follow these steps:
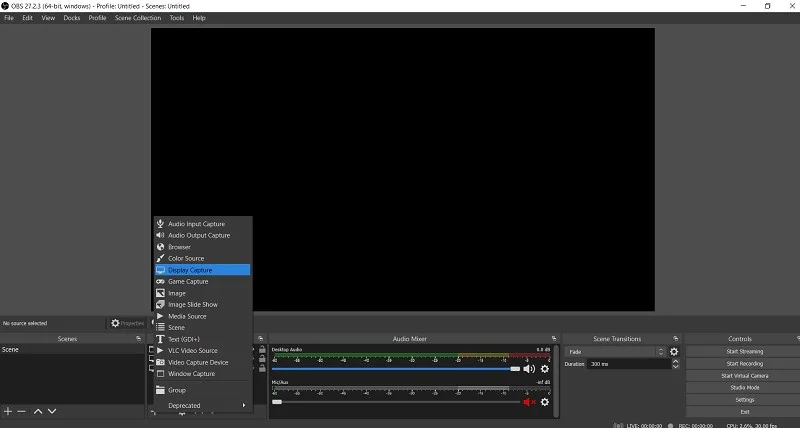
Step 1: Open your Zoom application and OBS software. On the Sources dock in OBS, click ‘+’ and select ‘Display Capture.’ This is preferable when using more than one monitor for your computer, but it will work just fine with one monitor.
Step 2: Alternatively, you can use the ‘Window Capture’ option and choose ‘Zoom.exe’ as your source, however, this does not always work. Then, you name the capture and click ‘OK.’
Alt Text: Alternatively, Use the ‘Window Capture’ Option and Choose ‘Zoom.exe’ as Your Source
Step 3: Again, on the Sources dock in OBS, click ‘+,’ and select ‘Audio Input Capture.’ You may want to name this capture differently from the other source for distinction, then click ‘OK.’ Click on ‘Start Recording’ to begin recording your zoom screen.
Alt Text: Click on ‘Start Recording’ to Record Your Zoom Screen
Conclusion
Through the detailed steps listed in this post, the various capabilities and related functions of OBS, like the virtual camera or audio cable, can be applied to Zoom. For zoom users, this tool allows for the management of video content quality, improvement of your visual experience, and organization of video meetings.
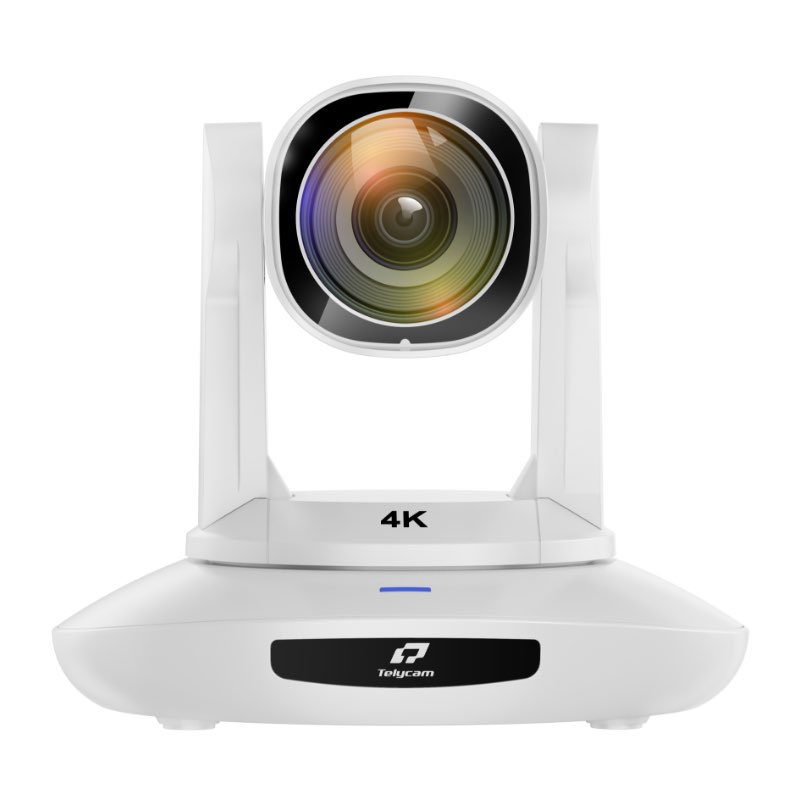
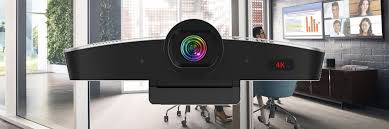
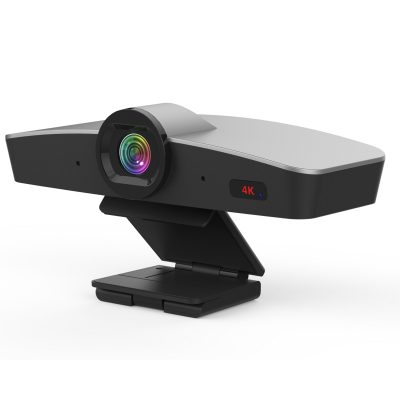
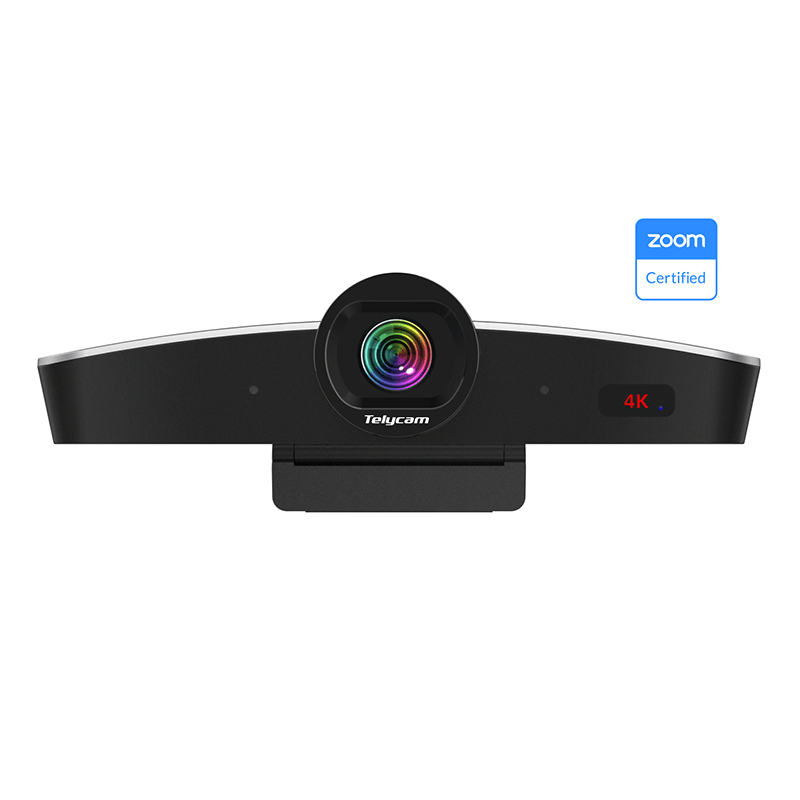
Telycam is a leading webcam supplier and PTZ camera manufacturer that specializes in providing camera solutions for video conferencing and live-streaming, as well as thorough professional services and technical support. For high-definition video conference camera solutions, PTZ controllers, and accessories that ensure good communication, you can contact us.