In 2016, the popularity of streaming reached a new all-time peak. Streaming, which comprises television, radio, and video on demand, had just burst onto the media scene that year and in no time became one of the most widely used forms of media consumption worldwide. As a result, streamers have continually sought to explore ways to simplify their streaming workflow. And this resulted in the birth of software like the OBS Studio.
What is OBS Scene Switcher
The OBS Scene Switcher (also known as Advanced Scene Switcher) is a popular plugin for Open Broadcaster Software (OBS) studio, a free and open-source program for video recording and live streaming. Based on programmable triggers, the plugin enables users (streamers in particular) to automate the switching of scenes in OBS studio, making transitions even more interesting and smooth.
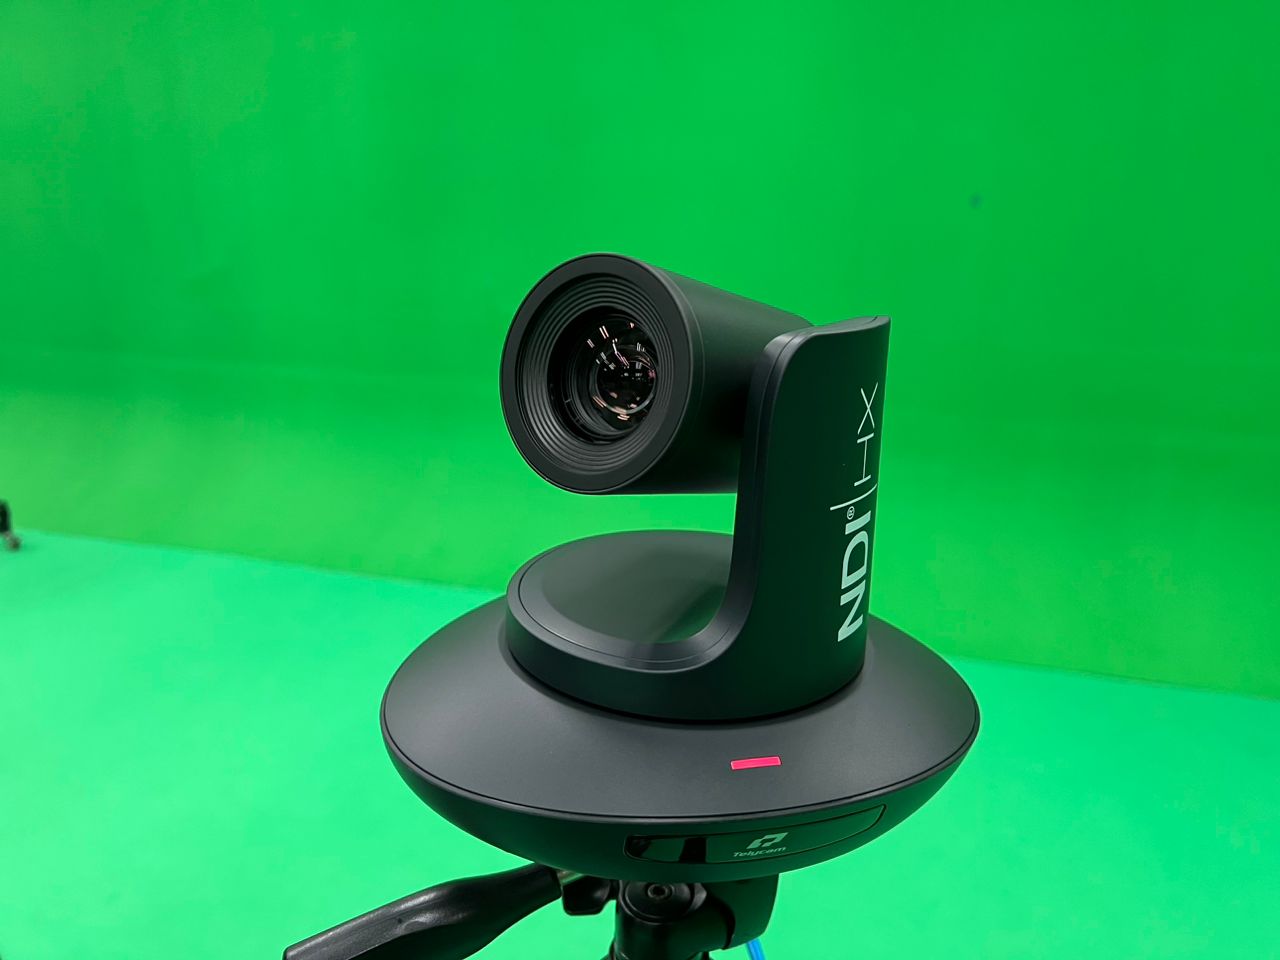
A scene in OBS is a group of sources that can be shown in a live stream or recorded video. These sources include video, audio, and photo images. A scene might consist of material from a 4K PTZ camera for live streaming, an image of the streamer’s logo, or even a screenshot of a presentation.
A lot of OBS users take charge of every facet of their video production on their own. There are no specific producers or engineers in these situations. Instead, the streamer doubles as the director, cameraman, producer, and technical director.
The adaptability and customizability features that OBS possesses in form of a sophisticated library of plug-ins (of which OBS scene switcher is only one of many) make the software ideal for independent operators, especially those who have gotten themselves very familiarized with hotkeys and the use of controllers.
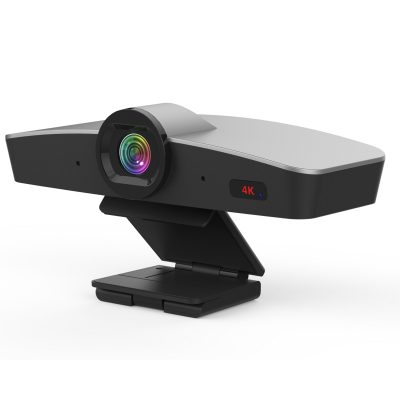
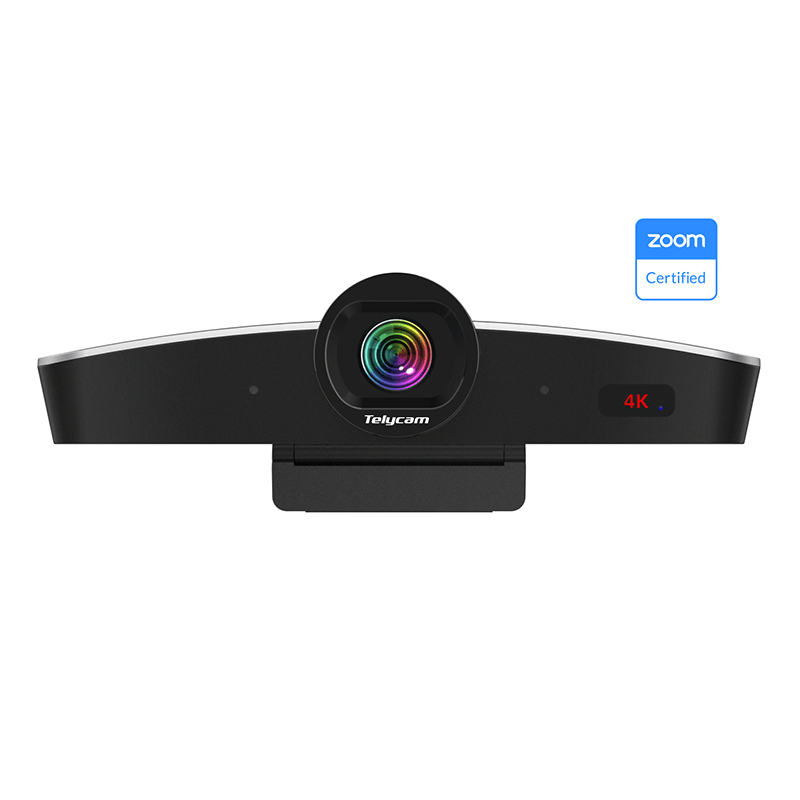
OBS Scene Switcher is a sophisticated plug-in with a ton of settings to aid streamers and video producers in automating the switching of scenes caught on their Telycam PTZ camera. This means video creators can focus on things that matter in their work.
With the aid of a new panel that the OBS scene switcher plugin adds to the OBS studio interface, users can configure scene-switching triggers and actions with so much ease. These triggers depend on a number of circumstances, which include the microphone volume of the streamer, the webcam detecting the streamer’s face, or a countdown timer. While the scene switching actions, on the other hand, include changing to a particular scene by oneself, muting or unmuting audio sources, and showing notifications on the screen.
Setting Up Your OBS Scene Switcher
Just like most other plugins for OBS Studio, the OBS Advanced Scene Switcher can be downloaded from the official OBS website, and the installation process follows almost the same steps as the others.
- First, OBS Studio must have been downloaded and working on your computer. If you do not already have it installed, you can go to the OBS Studio website, look for the “Download” button, and click on it. After the download is finished, open the installer, then follow the on-screen instructions to install OBS Studio on your PC.
- Download the OBS Scene Switcher .zip file from the website.
- Extract it. Once extracted, there will be auto-installers and files for Linux, PC, and Mac OS in the file.
- Please select the version for your PC and use the auto-installers to install it.
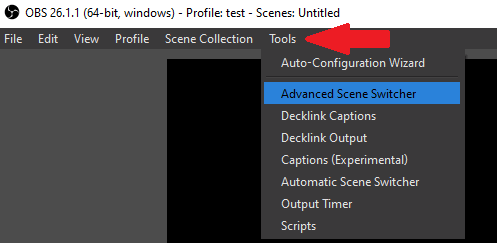
- Once this is complete, launch OBS Studio. The scene switcher can be accessed from the “Tools” menu.
How To Use OBS Scene Switcher

For users who are not yet familiar with the OBS plugin setup, the OBS Scene Switcher requires some initial setup and configuration, but it is pretty simple. An instruction manual for setting up the OBS Scene Switcher is provided below:
- Select the “Settings” option in the bottom-right corner of the OBS interface.
- Once open, select the “Scenes” tab from the left-hand menu. A list of all the scenes configured in your OBS Studio settings will be displayed.
- Click the “Add Scene” button at the bottom of the Scenes list to start a new scene. This will update your setup with a new, empty scene.
- Select the “Scene Name” box and enter a new name for your newly created scene.
- At the bottom of the sources list, there is a “Add” button. Clicking this button will reveal a menu that allows you to add several source types, such as video capture devices, audio inputs, photos, or text to your scene.
- Please choose your preferred source, then keenly follow the instructions to add it to your scene. A scene can have different sources added to it, so add as much as desired.
- Once added, proceed to enable scene-switching by selecting “Scene Switcher” at the bottom-right corner. A menu of your scenes will pop up. You can then click on your desired scene.
- Use the “Transitions” tab to select your desired transitions type.
- Automate scene-switching by clicking the “Transition to Scene” button in your OBS Studio configuration.
Conclusion
Overall, broadcasters and content creators who want to automate the switching of scenes in their live streams and recordings can benefit from using the OBS Scene Switcher plugin. It enables users to easily create new materials and offer more control and flexibility over how content is presented.
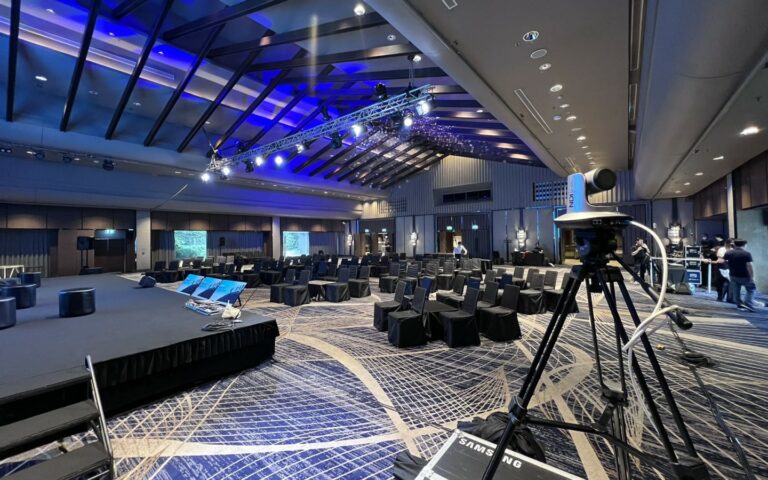
As a professional PTZ camera supplier, we help to actualize this by providing high-quality cameras that ease live streaming and recording. You can always reach out to us to scale up your video production.